Take your best Dental Monitoring scan to WIN!
By Dr Daniel De Angelis
*

To celebrate World Smile Day this October, we’re giving eligible patients the chance to WIN a $200 Westfield gift card! [COMP IS NOW CLOSED]
All you have to do is take your Dental Monitoring (DM) scan when you’re next due for your regular scan in the month of October. You will then automatically go into the draw to WIN. The best scan will win!
Taking good quality photos for the DM app is really important because they need to meet a minimum standard of quality for me (and the DM system) to be able to analyse them correctly.
We showed you how to take scans for Dental Monitoring here, but what makes a good scan, or a bad scan, for that matter?
What does a perfect DM scan look like?
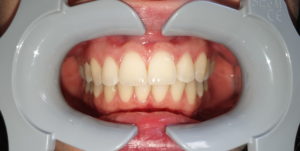
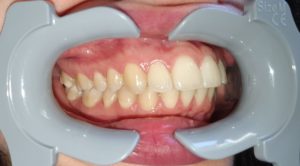
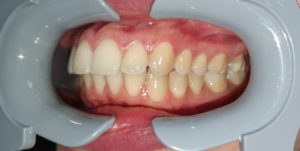
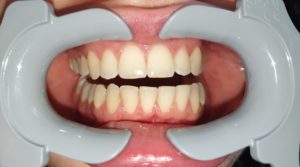
Your scan photos should be sharp, detailed, in-focus and well-lit. I should be able to see all of your teeth clearly, as well as the gums surrounding them
These are great examples of good quality scans using a Cheek Retractor Tool.
What does a not-so-perfect DM scan look like?
Your photos are blurry
If you move your camera too fast while taking your scan, you may end up with blurry photos. Try to match your movements with the on-screen gauge: this will give you an indication of the correct speed at which you should be moving your camera.
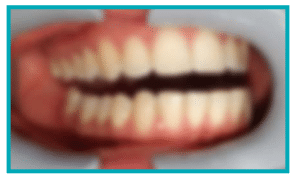
Photo is taken from too far away
If you are too far away from your camera when you take your scan, the photo will lose a lot of important detail. It will appear less sharp and more ‘grainy’. Can you see the difference in the photos below?
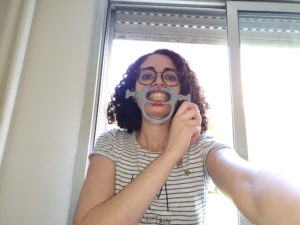
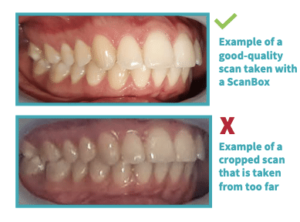
Photos are taken too close up
On the other hand, if you are too close to your camera, it will not be able to focus correctly on your teeth. Your teeth may also be hidden by shadows created by the cheek retractor, due to the position of the flash.


Photos are too dark
The DM app should trigger the camera’s flash automatically, but in some cases your photos may still appear too dark. Try and take your scans in a well lit room, and the photos are bright enough for me to see your teeth clearly.


Photos aren’t centred on your mouth
Make sure your mouth is at the centre of your photos. This will help your camera focus correctly on your mouth and ensure that all of your teeth will be included in the photo.


Your back teeth aren’t visible
When you scan from side to side, you need to make sure you pull the cheek retractor as far back as possible (without causing you any discomfort of course!). This will make sure your molars (the teeth at the back of your mouth) are visible. In these photos, the molars are completely hidden by the cheek retractor.


Your lips or tongue are hiding your teeth
When taking your scans, make sure your lips or tongue don’t cover the surfaces of your teeth or your gums. Ensure your cheek retractor is inserted correctly, and keep your tongue in a retracted position when taking occlusal photos.


Your head isn’t tilted enough (for occlusal photos)
If you need to take an occlusal photo, make sure you tilt your head back/forward so that we can see the biting surface of your teeth.


